
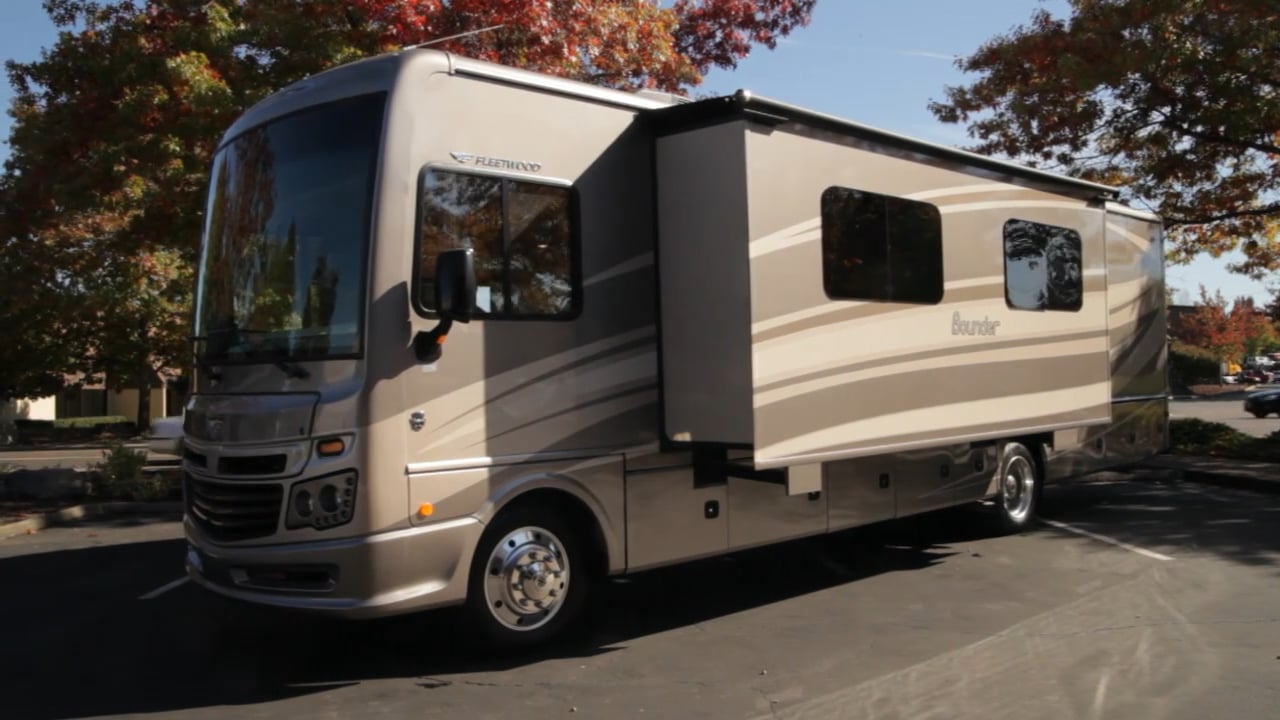
It’s all about comfort and convenience when it comes to an RV’s interior. Durability and insulation are important factors for an RV’s exterior, besides its general aesthetic. But what if the motorhome’s floor creaks or feels a little squishy underfoot? This can be a condition known as delamination. RV delamination occurs when the glue binding together the various layers of the vehicle’s floor starts to come apart. Even though it is a common issue, immediate attention is required to stop it from getting worse.
What Is RV Delamination?
RV delamination happens when the layers of fiberglass or gel coating detach from the backing parts of fiberglass RVs. Usually, plywood or luan is used for the backing. Due to moisture seeping through the many layers of the RV’s structure, the materials start to separate from one another. The areas most prone to delamination are those with the highest ‘traffic,’ i.e., those on which people spend the most time walking.
The Cause Behind RV Delamination
As mentioned before, moisture between the different layers of an RV causes delamination. This is generally the result of a sealant failing to protect the RV against water intrusion. It is important to maintain the seals to keep the rig from delaminating. Many RV warranties mandate regular seal inspections from owners, and some may even reject warranty claims if there is proof that the vehicle hasn’t been maintained as needed.
Signs of Delamination
An RV usually shows multiple warning signs of delamination. The external walls of an RV will first show bubbles or tiny cracks. As the fiberglass and gel coating layers break from the base components made of wood or luan, these small bubbles will expand and spread. As the cracks and stains widen, it will also come to notice that the RV’s walls are starting to swell or bulge. If any of these signs show up in the RV, it’s important to take action as soon as possible.
Fixing RV Delamination
In the early stages of delamination, a DIY approach can be sufficient to fix the issue. All that’s required is a delamination repair kit, which is easily available online. A delamination repair kit usually includes a mains substance and hardener. Here’s how to solve RV delamination using the repair kit:
- Take out the carpet
- Make holes in the impacted areas
- Drill through the upper layer of plywood and insulation, but avoid drilling through the external layer of plywood.
- Apply the adhesive from the repair kit to the holes. Once applied, it will harden, forming a strong support structure.
- Patch up the floor holes that have been drilled. A popular hole-filling material is wooden dowels.
- Remove any extra glue that has spilled.
- Reinstall the carpet.
That’s how simple it is. The glue needs 24 hours to dry before attempting to walk on the floor to ensure that it has properly been set.
Conclusion
As previously pointed out, simply leaving a delaminated floor can lead it to spread throughout the motorhome. Before one even knows it, RV delamination can cause a whole floor replacement, and this will end up being quite expensive. The solution is to fix it as soon as one notices any extra spring or squeaking sound on the floor. If one doesn’t feel comfortable fixing the flooring with their own hands, it is always a brilliant idea to take the RV to a professional.